Shabby Chic Storage - Chippy & Distressed
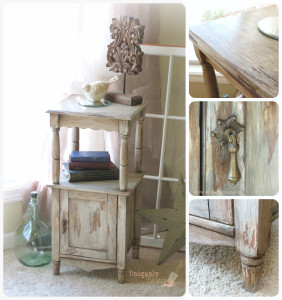
Once upon a time there was an artist. She was surrounded by wonderful people in her life who believed in her, so much so that when she put her mind to it she could create just about anything! This is how I felt with this sweet and stunning shabby piece I am sharing with you today. I personally am not an extremely shabby person though I like a soft distressing now and then. So this one was a challenge for me.
Meet Cinderella, her name was chosen from the rags to riches story because I truly feel that was what this cabinet went through. She was a cleaning supply storage cabinet in a bathroom before I got her.
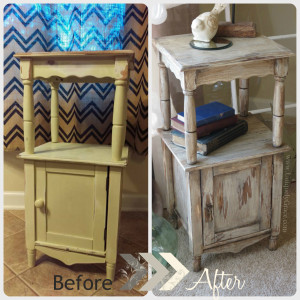
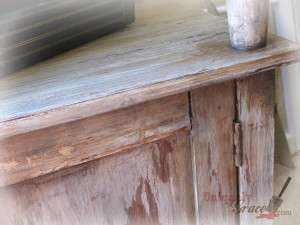
I feel like her fairy godmother and my paint brush is my magic wand. She is glistening in her Shabbiness now. Though the Shabby Paints Shimmer Paints and Glazes probably have something to do with that too.
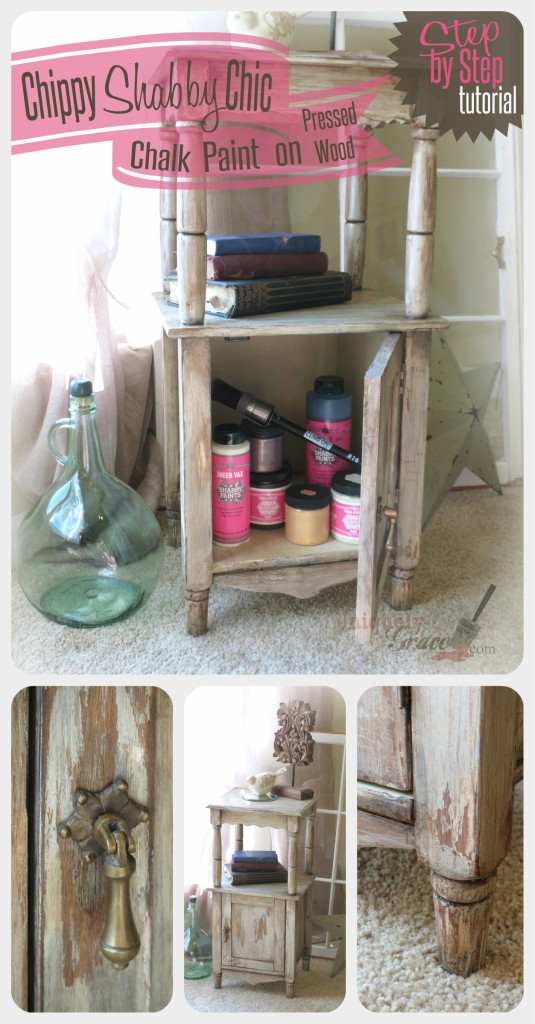
Want to know how to create this Look? Keep reading for my step by step tutorial...
Step A: Clean... with Vinegar/Water (50/50 mix) and a splash of blue dawn, rinse with water and a clean microfiber cloth.
Step B: Sand... and scuff up the surface to help the paint have something to hold onto, since this is not real wood. Wipe it down with a damp microfiber cloth to collect all the dust.
Step C: Paint in layers... I painted the following layers:
- Three layers of Brown Bronze Shimmer Glaze over the creamy laminate like surface. Let dry to touch.
- One dry brush layer of Buffalo Brown. Let dry over night.
- Rubbed a bar of soap all over the areas I wanted distressed.
- One full coat of Vanilla Bear with whole rice mixed in (to scrape off later) Let dry to touch.
- One layer of Stunning Silver Shimmer Paint. Let dry to touch.
- A watered down later of Hazelnut ReVax and scrape off while wet with a metal or hard plastic putty knife, exposing the darker brown & bronze layers underneath. Work quickly and in small sections!
- Used more Hazelnut ReVax with a small artist's brush to shade and darken corners and under the tops of the shelves and overhangs.
- Went back in with a smaller brush and added some Black ReVax to darken the corners and under the overhangs even more.
Shabby Chic Definition:
"Shabby chic (pronounced: "sheek") is a form of interior design where furniture and furnishings are either chosen for their appearance of age and signs of wear and tear or where new items are distressed to achieve the appearance of an antique" - Wikipedia
If only the world could now how much work it takes to make something this old, old enough that someone may want to refinish it. LOL! I hope you have a wonderful day and a blessed weekend. Thank you all very much for stopping by!
This item was entered into the "The Fab Furniture Flipin' Contest" for the month of June, I was honored to be a part of this contest last month and thrilled to be in it now. This months theme is "Shabby Chic Storage" and is sponsored by The Old Fashioned Milk Paint Company. Though I was not able to use their product for this project. Take a moment to go check them out.
Hosts this month did shabby projects also here are their blog links:
OFMP: The Marissa Dresser (by Carrie of 38th St)
SHABBY TO CHIC STORAGE WITH OLD FASHIONED MILK PAINT ( by Charlotte of Ciburbanity)
Interested bloggers should contact Stacy (info@anastasiavintage.com) or Evey (info@eveyscreations.com) if interested in participating in future contests.
Thanks Again!!!!
~ Grace

Find me on...
Facebook: Uniquely Grace
Twitter: Grace Lauer Artist @gracelauer
Instagram: @gracelauer_henna_artist
Pinterest: L. Grace Lauer
Facebook: Uniquely Grace
Twitter: Grace Lauer Artist @gracelauer
Instagram: @gracelauer_henna_artist
Pinterest: L. Grace Lauer
