Showing posts with label glaze. Show all posts

Wednesday, July 1, 2015

Shabby Chic Storage Cabinet Step by Step Tutorial - pressed wood

Shabby Chic Storage - Chippy & Distressed

Once upon a time there was an artist. She was surrounded by wonderful people in her life who believed in her, so much so that when she put her mind to it she could create just about anything! This is how I felt with this sweet and stunning shabby piece I am sharing with you today. I personally am not an extremely shabby person though I like a soft distressing now and then. So this one was a challenge for me.
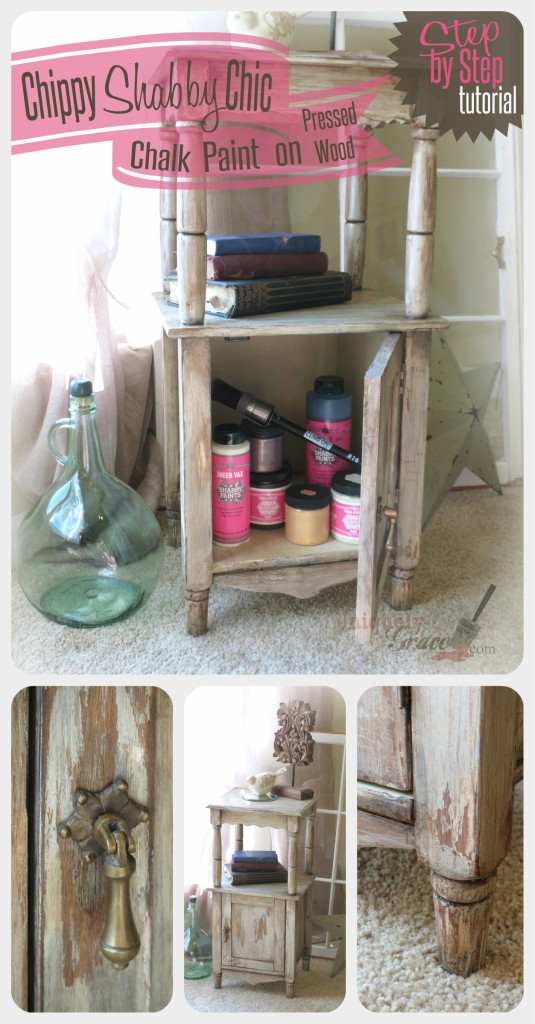
Shabby Paints chic pinterest cabinet shimmers chalk acrylic paint uniquely grace night stand end table
Meet Cinderella, her name was chosen from the rags to riches story because I truly feel that was what this cabinet went through. She was a cleaning supply storage cabinet in a bathroom before I got her.
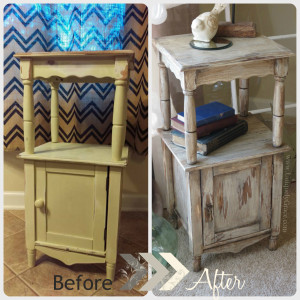
before after shabby chic paints cabinet table end night stand laminate pressed wood makeover fab furniture flippin contest uniquely grace
I feel like her fairy godmother and my paint brush is my magic wand. She is glistening in her Shabbiness now. Though the Shabby Paints Shimmer Paints and Glazes probably have something to do with that too.
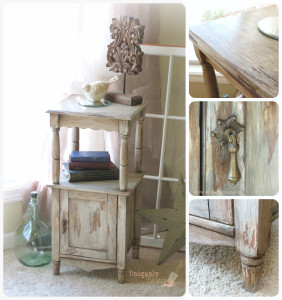
Shabby Chic paints shimmer chalk acrylic chippy distressed laminate pressed wood uniquely grace end table night stand cabinet

Want to know how to create this Look? Keep reading for my step by step tutorial...
Step A: Clean... with Vinegar/Water (50/50 mix) and a splash of blue dawn, rinse with water and a clean microfiber cloth.
Step B: Sand... and scuff up the surface to help the paint have something to hold onto, since this is not real wood. Wipe it down with a damp microfiber cloth to collect all the dust.
Step C: Paint in layers... I painted the following layers:
  1. Three layers of Brown Bronze Shimmer Glaze over the creamy laminate like surface. Let dry to touch.
  2. One dry brush layer of Buffalo Brown. Let dry over night.
  3. Rubbed a bar of soap all over the areas I wanted distressed.
  4. One full coat of Vanilla Bear with whole rice mixed in (to scrape off later)  Let dry to touch.
  5. One layer of Stunning Silver Shimmer Paint. Let dry to touch.
  6. A watered down later of Hazelnut ReVax and scrape off while wet with a metal or hard plastic putty knife, exposing the darker brown & bronze layers underneath. Work quickly and in small sections!
  7. Used more Hazelnut ReVax with a small artist's brush to shade and darken corners and under the tops of the shelves and overhangs.
  8. Went back in with a smaller brush and added some Black ReVax to darken the corners and under the overhangs even more.
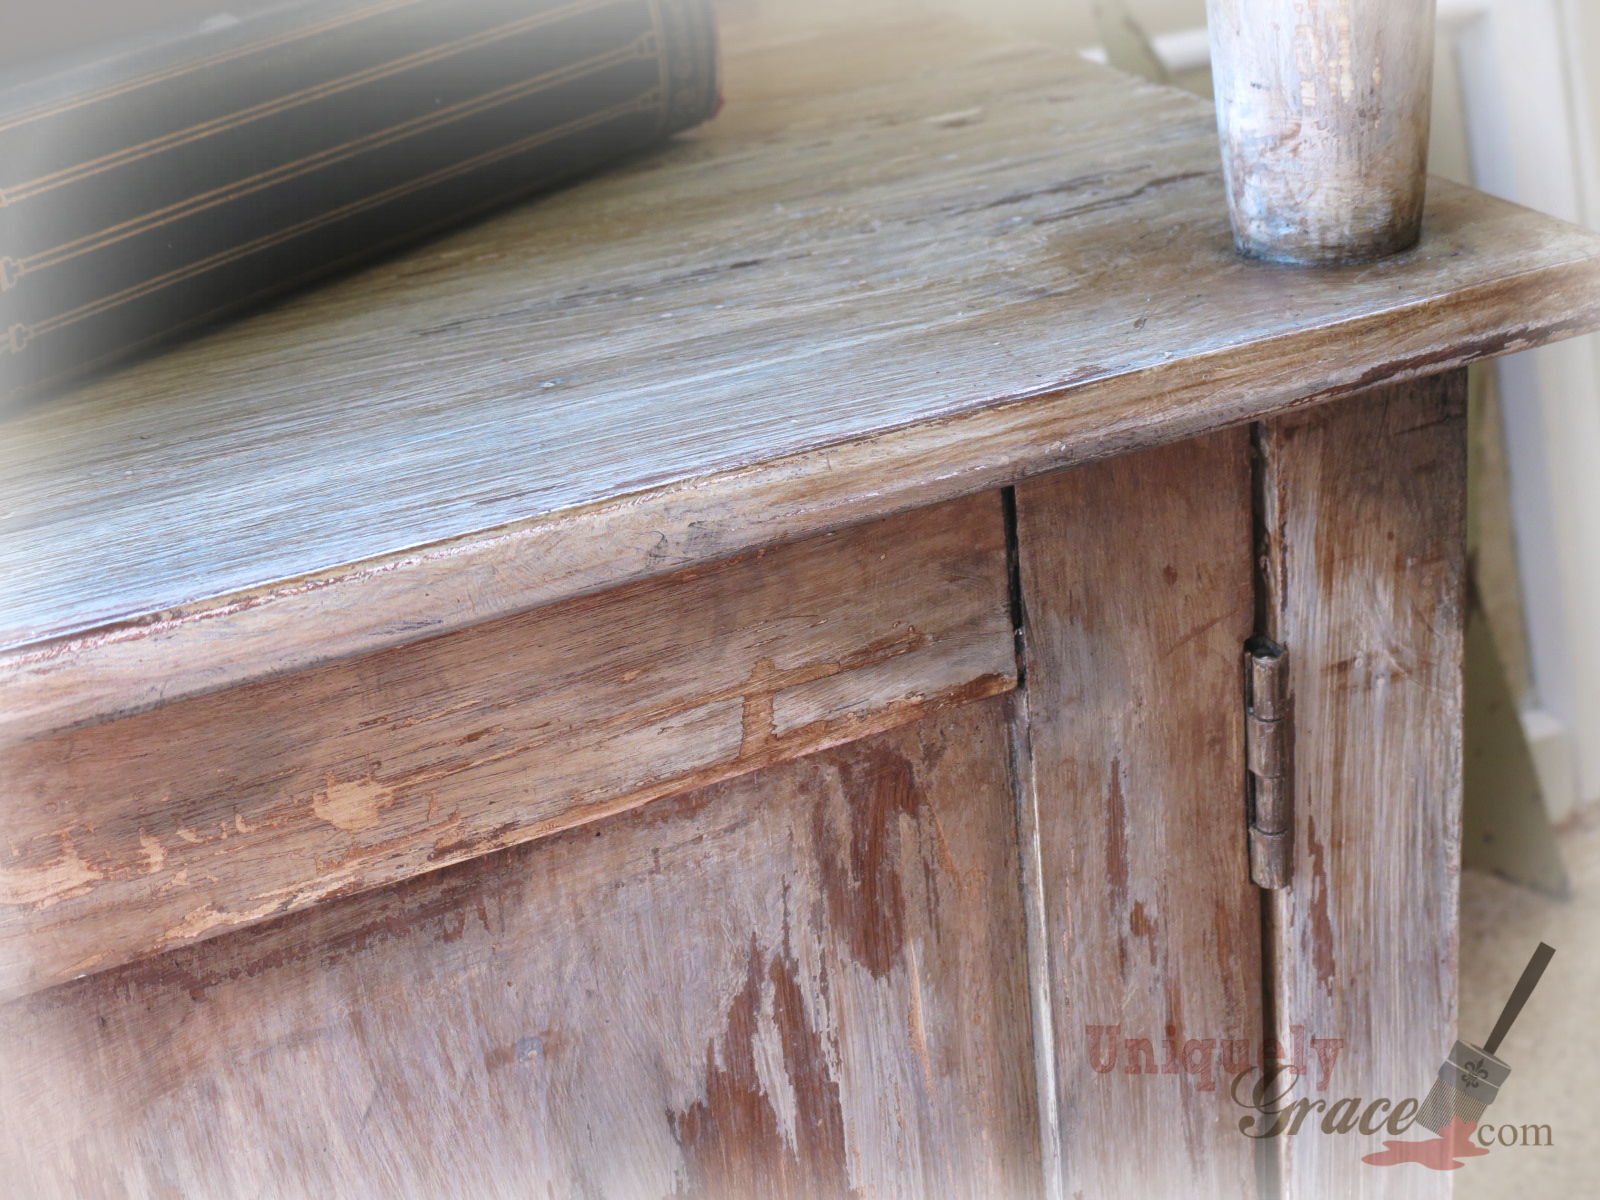
close up chippy distressed shabby chic paints uniquely grace furniture flip makeover shimmer

Shabby Chic Definition:

"Shabby chic (pronounced: "sheek") is a form of interior design where furniture and furnishings are either chosen for their appearance of age and signs of wear and tear or where new items are distressed to achieve the appearance of an antique" - Wikipedia
If only the world could now how much work it takes to make something this old, old enough that someone may want to refinish it. LOL! I hope you have a wonderful day and a blessed weekend. Thank  you all very much for stopping by!
This item was entered into the "The Fab Furniture Flipin' Contest" for the month of June, I was honored to be a part of this contest last month and thrilled to be in it now. This months theme is  "Shabby Chic Storage" and is sponsored by The Old Fashioned Milk Paint Company. Though I was not able to use their product for this project. Take a moment to go check them out.

997068_920154666073_3072223900727714781_n

Hosts this month did shabby projects also here are their blog links:

OFMP: The Marissa Dresser (by Carrie of 38th St)

SHABBY TO CHIC STORAGE WITH OLD FASHIONED MILK PAINT ( by Charlotte of Ciburbanity)

FFFC post graphic final (png)

Interested bloggers should contact Stacy (info@anastasiavintage.com) or Evey (info@eveyscreations.com) if interested in participating in future contests.
Thanks Again!!!!
~ Grace

Photobucket

Find me on...
Facebook: Uniquely Grace
Twitter: Grace Lauer Artist @gracelauer
Instagram: @gracelauer_henna_artist
Pinterest: L. Grace Lauer

Wednesday, May 6, 2015

ATen-Hut! Dresser Makeover brings sitting room to attention!


This was a fantastic makeover to really pull the space together. Using Shabby Paints products made it ever so easy! Now it has an almost military look about it. Which is fitting since our sitting room is decorated with military items and things from our travels.


The only thing wrong with this dresser in the before state was the finish on the top. The drawers work like a hot knife going through butter and the pulls are all there and in good condition. But it's presence in the room was just "there".


A quick hand sanding to get off all the peeling finish on the top and a good cleaning was all I needed to do for prepwork. Here is the original finish (the base before being painted black) with the new Hazelnut ReVax top finish. This was a color recipe of (1 part = 1 teaspoon): 
  • 3 parts Hazelnut re-vax
  • 1 part old gold shimmer/water (50/50)
  • 1/8 part Licorice


I think it is stunning and it went right over the top of all that golden yellow finish! So easy!


Next I painted the drawer fronts the same way and finished the base frame with Licorice (black) chalk paint and sealed it with the Sheer Vax by Shabby Paints. The pulls are old vintage 60's cabinet handles from ebay... but I loved the details and brass addition to the piece. I used the old holes for the pulls on the outside and drilled new holes just inside those to attach these handles.

Please let me know what you think of this piece. I am happy to answer any questions if you want to leave them in the comments or contact me on social media listed below. Thanks for reading! 


Photobucket

Find me on...
Facebook: Uniquely Grace
Twitter: Grace Lauer Artist @gracelauer
Instagram: @gracelauer_henna_artist
Pinterest: L. Grace Lauer

Monday, January 11, 2010

"You are scraping your house!" - Off the Page Project Entryway

After showing this to one of my friends he stated... "You are scraping your house!"

I have not been scrapbooking lately since our move. Mainly due to the fact that my stuff is still in boxes so I thought I would share with you all the creative things I have been doing around my house. The walls were in dire need for attention. There were eight kids and three adults living here with white contractor grade flat paint in every room. If you look closely there are places in the "BEFORE" pic that has three colors; cream, white and gray on the walls, where the previous owners tried to "touch up" paint.

The design on the side was free handed and the ceiling was created on a piece of paper... scanned into the computer and printed out in a larger size then used as a template.

How it was done:

1) The paints are Olympic semi gloss from Lowe's... the base coat is called Sandpiper and the darker flourish is a mix of their Covered Wagon color and some white (all are left over paints from the kitchen and living room).

2) I drew the flourish on the wall with a pencil, using a home made compass created from a shoelace and two pencils to create the larger curves. I would wrap the shoelace around one of the pencils to make the smaller curves.

3) Hand painting with an art brush the Covered Wagon color that was mixed with some white.

4) After painting the flourish I "distressed the corners with just white paint and a scrub brush to add some streaks and distressing textures.

5) Then I took the Covered Wagon color and mixed it with a faux finish glaze (a translucent medium about 1/2 glaze and 1/2 paint.) I applied the glaze with an old rag. Just kinda washed it onto the wall making sure there were no dark spots left behind.


Photobucket
