The Golden Snitch is a significant item in the Harry Potter story line, so it didn't surprise me when my son picked it for his birthday cake... posing some initial problems since he wanted it 3D. I thought of making cake pops with modeling chocolate (one of my favorite things to use when decorating cakes) wings or cupcakes even. The reasoning behind his choice for it? Fun Fact: Well for Harry Potters 17th birthday Mrs. Wheasley mad him a golden snitch cake.

I baked up two 1/2 ball cakes in the Wilton Soccer Ball cake pan. I then like to freeze my cakes so I can ice them easier later.
I dirty iced the cake and added the filling to put it together into a ball. The coldness of the cake helps the dirty icing get hard and cool making it easier for the outer layer to go on smoothly.
My family is not a fan of fondant so I chose to do this in butter cream frosting using Wilton's Golden Yellow Icing Color. Go, Kitchen Aid go!

I inserted the wings... using scrapbooking wire and velum to make them. I took a photo of the wings and printed each wing large enough to cover two pages of velum. After printing them I cut them out and adhered them with Helmar V2 Velum Spray to make one long wing. I did this for the other side as well. Poking holes along the tops of he wings allowed me to weave the wire through the velum to support it.
I inserted two straws into the cake for the wire to go into (like a casing), to keep the non food grade wire from touching the cake. I then finished off the holes with some more butter cream.
After smoothing out the icing and pipping the details and shadowing (the shadows is a black gel from Wilton applied with a paint brush).

Then dusting the entire cake and wings with Wilton's Color Mist in Gold. (sorry for the bad photo I had to take it in the middle of the night with my cell phone... batteries died in my camera... LOL!)
Here is the end result! A Golden Snitch Cake with a wing span of 4.5 Feet (you can see in the first photo at the top of this post the cake in relation to those large JUMBO barrels of Cheese puffs and me standing behind it)!!!! I am really pleased with how it turned out. Do you like to decorate
cakes? If so I would love for you to leave a link in a comment below. I
always love to admire other's work.

Every year we have two birthday parties at our house in one day. The Owlery Cupcakes were for my son's birthday party and this one was for the Hubby's BBQ that always happens after.

Fallow this blog and leave a comment below. If you want please feel free to share this post or link to it, let me know and I will check in and make a comment or link yours to mine too! Have a great day!
Please see the list here for more Harry Potter Ideas...
Eats and Treats:
The Three Broomsticks - Butterbeer, Polly Juice Punch and more
Honeydukes Candy Display - 24 different candies
Owlery Cupcake Tower
The Golden Snitch Cake
Fun and Fancy:
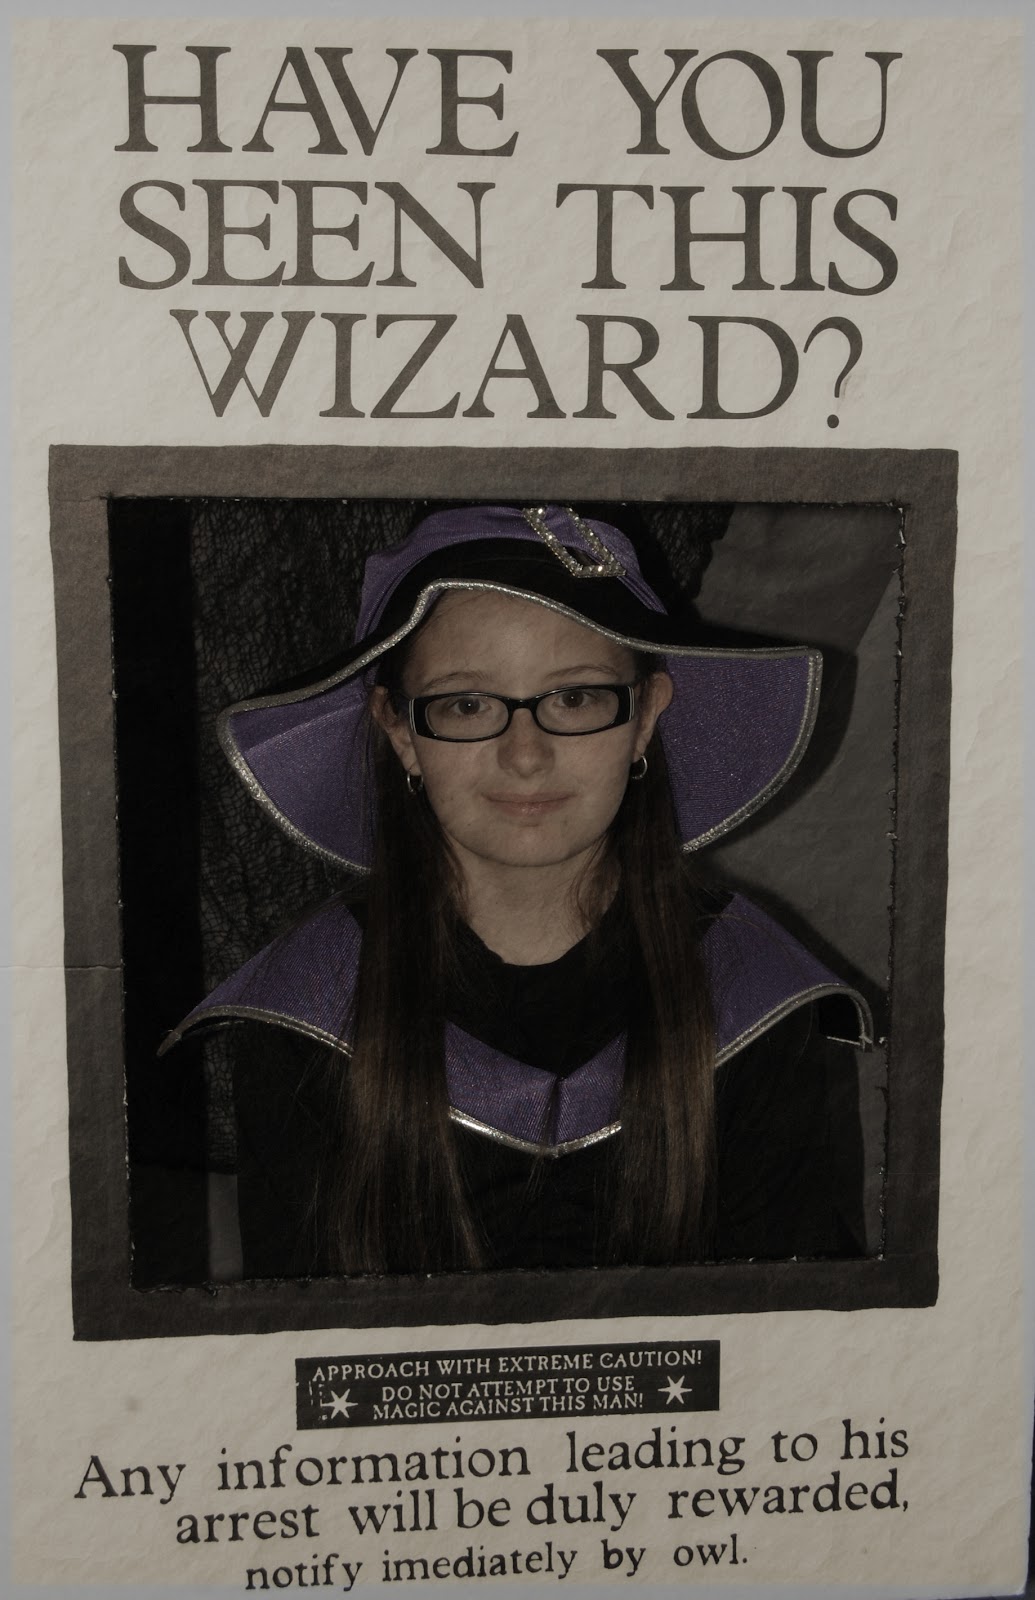
Prisoner of Askaban Wanted Poster Photo Booth
DIY Olivander's Wands DIY
Party Decor and More:
Potions Cabinet Details DIY
Video of Helmar DIY projects for Harry Potter Party
Invitations and Printables:
Owl Post - Hogwarts Acceptance Letter Invitations mailed Owl Post
Publications - DAILY PROPHET and the QUIBBER props


