CHALLENGE #14 WEEK #4 - Glitter, Glitter Glue, Flocking, Embossing Powders, Micro Beads etc.
I am not sure if you all know but I am a glitter fanatic! LOL. To put it lightly. I have over 100 shades of glitter and embossing powders. I have almost 40 different colors of glitter glues. I am a bit obsessed about the sparkle I think ... LOL.
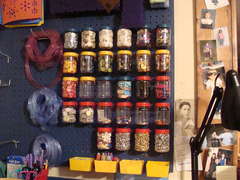
- Shimmer Powders and Flocking - No special way
you need to store these accept away from moisture but that is true for
about 99% of all scrapbooking supplies. They do look pretty and can be
stored nicely on display. Try finding an old, small metal cookie sheet
at the local thrift store. Paint or alter it a bit and put thin magnets
on the bottom of the powder containers. Hang it on the wall up above the
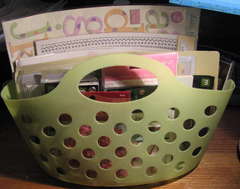
work space. Or Stack them and store them on a shelf. Maybe even store
them in a nice basket that you can keep handy.
Note: if storing in a box, basket or drawer... turn them upside down. Not for he reasons you do inks but so you can see the colors inside the jars, instead of the white/black lids.
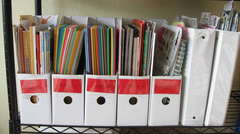
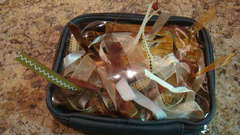
 Glitter labels By Hanging By A Moment
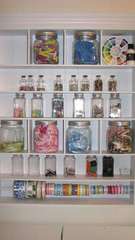
- Glitters and Glitter Glues - I LOVE glitter...
there are so many options for storing regular glitter many have been
mentioned above in other items. The glitter glue however works best,
with the least amount of bubble explosions on your page, if you store
them upside down.
Storage Options:
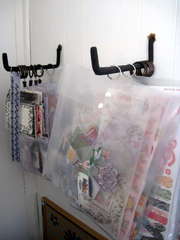
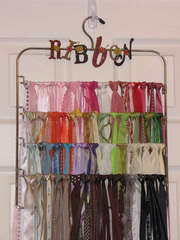
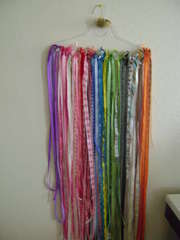
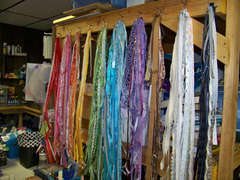
Tool rack, Velcro them to a clear flier display protector
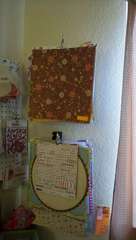
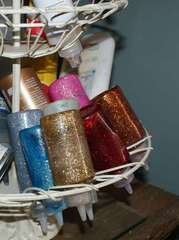
Hanging under a shelf: here is what I did last year for my storage solution.
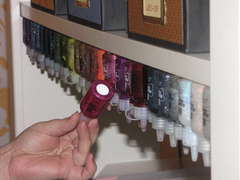 Glitter Glue organized! By Hanging By A Moment
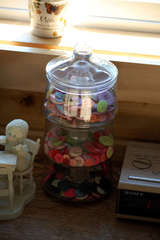
Vintage Rack: - Embossing supplies - Now normally the embossing
tool would be placed in with the tool category but if you want to create
a mini embossing center and organize it in with your embossing supplies
then I would suggest you do what works for you. I created a drawer for
all my supplies and organized it all within that drawer. A Basket would
work well or if you want a counter top embossing center we can discuss
better ways to display these items.
Storage Solutions:
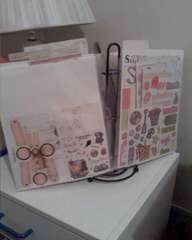
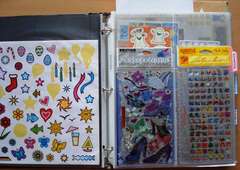
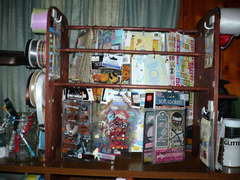
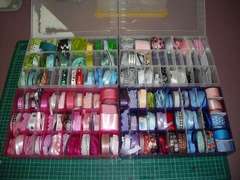
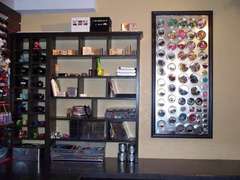
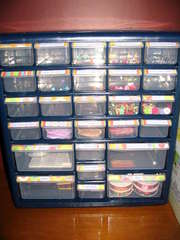
Embossing Center (really it is my color center):
 Color Center By Hanging By A Moment
Decorative Box: http://www.scrapbook.com/gallery/?m=image& id=100078...
- Other (?) - Did I miss anything? Please bring it to my attention.
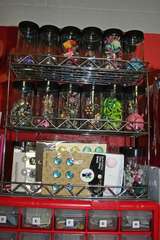
 Stickles storage By Scrapn2
MM Shelves (I'm drooling over her products!):
http://www.scrapbook.com/gallery/image/scrapro om/280071...
Lipstick holder:
http://www.scrapbook.com/gallery/?m=image& id=275121...
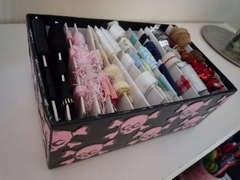
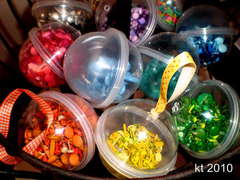
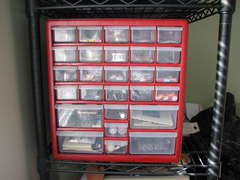
Storing your glitter jars, embossing powders and flocking in a drawer:
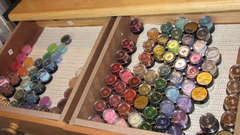 Glitters, embossing powders and flocking By Hanging By A Moment
Drawer: http://www.scrapbook.com/gallery/?m=image& id=264525...
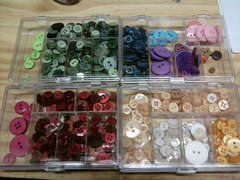
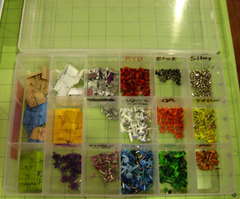
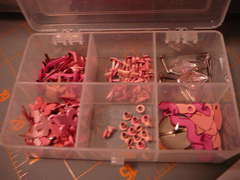
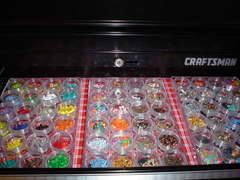
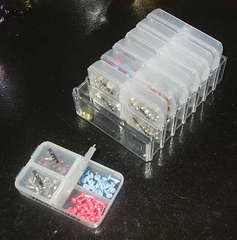
In pill/bead organizers:
http://www.scrapbook.com/gallery/?m=image& id=277487...
Bin:
http://www.scrapbook.com/gallery/?m=image& id=263348...
Shoebox (I would turn the glitters upside down also):
http://www.scrapbook.com/gallery/?m=image& id=261127...
REMEMBER: Always leave room for your stuff to grow!!! Especially you collectors!

Pin It